
Nat Friedman described Github Actions as an API “… to orchestrate any workflow, based on any event, while GitHubmanages the execution, provides rich feedback and secures every step along the way. With GitHub Actions, workflows andsteps are just code in a repository, so you can create, share, reuse, and fork your software development practices.”
You can read his full blog post here.
This blog post explains how to set up a GitHub action within 5 minutes to automatically deploy your hosted web app on S3and create an automatic CloudFront cache Invalidation. You will be able to deploy any app that runs on S3 be it React,Vue, Angular or svelte.
This Action is using 2 community-built actions fromjakejarvis and chetan.
TL;DR
If you don´t want to read the complete post. Copy the action from this Github repository and add at the Github secretsto your repository. If you fail, come back and read the article!
Requirements
This post assumes that you have already deployed a working web app on s3 with CloudFront distribution before. So therequirements are a working web app, with build script in the package.json, a static hosting bucket on s3, a workingCloudFront distribution and IAM User with programmatic access and enough permissions to deploy to s3 and create aCloudFront chance invalidation
Now let’s get started with the tutorial.
Create folders & files
The first thing we have to do is create the folder .github with a folder workflows in it on your project root level.Afterward create the deploy-app-on-s3.yaml file in it.
Creating the Github Action
Copy this code snippet into the deploy-app-on-s3.yaml file.
name: deploy-app-on-s3 on: pull_request: branches: [master] types: [closed]jobs: deploy: runs-on: ubuntu-latest env: AWS_S3_BUCKET_NAME: your-bucket-name AWS_CF_DISTRIBUTION_ID: your-cloudfront-id strategy: matrix: node-version: [10.x] steps: - uses: actions/checkout@master - name: Use Node.js ${{ matrix.node-version }} uses: actions/setup-node@v1 with: node-version: ${{ matrix.node-version }} - name: Install Dependencies run: npm install - name: Build Application run: npm run-script build - uses: jakejarvis/s3-sync-action@master name: Upload App to S3 Bucket with: args: --follow-symlinks --delete --cache-control max-age=2592000 env: AWS_S3_BUCKET: ${{ env.AWS_S3_BUCKET_NAME }} AWS_ACCESS_KEY_ID: ${{ secrets.AWS_ACCESS_KEY_ID }} AWS_SECRET_ACCESS_KEY: ${{ secrets.AWS_SECRET_ACCESS_KEY }} AWS_REGION: 'eu-central-1' SOURCE_DIR: 'dist' - name: Create CloudFront Cache Invalidation uses: chetan/invalidate-cloudfront-action@master env: DISTRIBUTION: ${{ env.AWS_CF_DISTRIBUTION_ID }} PATHS: '/*' AWS_REGION: 'eu-central-1' AWS_ACCESS_KEY_ID: ${{ secrets.AWS_ACCESS_KEY_ID }} AWS_SECRET_ACCESS_KEY: ${{ secrets.AWS_SECRET_ACCESS_KEY }}This code snippet describes the action. The Github Action will be triggered after your pull request on the masterbranch is successfully closed. You can change this by adjusting the on section in the snippet. If you want a differenttrigger for your action look here. Itcould be possible that you have to adapt for example the SOURCE_DIR from "dist" to your build directory or theAWS_REGION.
Adjust environment variables
The third step is to adjust all environment variables. In this action, we have the bucket name AWS_S3_BUCKET_NAME andthe CloudFront distribution ID AWS_CF_DISTRIBUTION_ID as an environment variable. The value of AWS_S3_BUCKET_NAME isthe name of your S3 Bucket you can find in the management console and the value of AWS_CF_DISTRIBUTION_ID is the id ofthe CloudFront distribution.
You can get the ID for the AWS_CF_DISTRIBUTION_ID variable of the CloudFront distribution via the management consoleby navigating to the "CloudFront" service and then going on "Distribution".
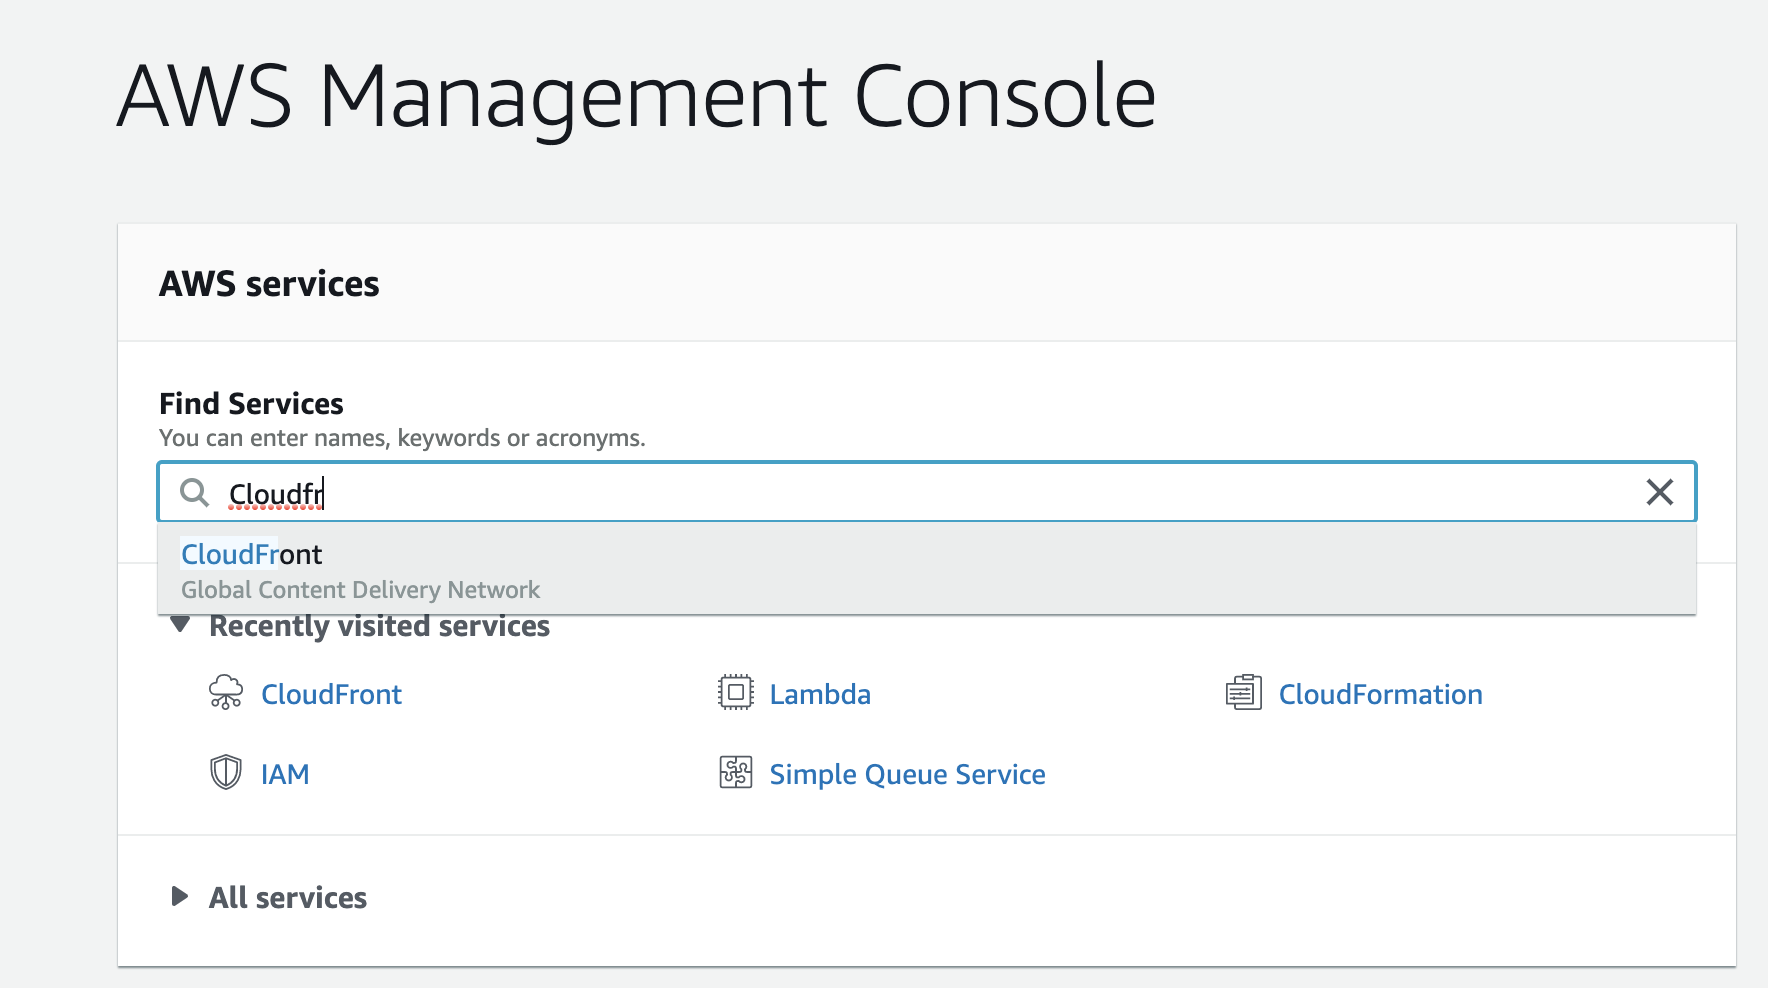
The table has a column "ID" with the value we need. You can recognize the correct row by identifying your S3 Bucket namein the column "ohttps://www.philschmid.de/static/blog/set-up-a-ci-cd-pipeline-for-your-web-app-on-aws-s3-with-github-actions/cloudfront.pngub-actions/cloudfront.png" alt="AWS Cloudfront Service">
Add secrets to your repository
The fourth and last step is to add secrets to your Github repository. For this Github Action, we need the access key IDand secret access key from IAM User as secrets called AWS_ACCESS_KEY_ID and AWS_SECRET_ACCESS_KEY.
If you are not sure on how to create an IAM user for the access key ID and secret access key you can readhere.
Adding the secrets
To add the secrets you have to go the "shttps://www.philschmid.de/static/blog/set-up-a-ci-cd-pipeline-for-your-web-app-on-aws-s3-with-github-actions/navigation.pngb-app-on-aws-s3-with-github-actions/navigation.png" alt="Github Repository Naivhttps://www.philschmid.de/static/blog/set-up-a-ci-cd-pipeline-for-your-web-app-on-aws-s3-with-github-actions/settings.png-ci-cd-pipeline-for-your-web-app-on-aws-s3-with-github-actions/settings.png" alt="Github Repository Settings">
and on the secrets page, you can add youhttps://www.philschmid.de/static/blog/set-up-a-ci-cd-pipeline-for-your-web-app-on-aws-s3-with-github-actions/secrets.pngsrc="/static/blog/set-up-a-ci-cd-pipeline-for-your-web-app-on-aws-s3-with-github-actions/secrets.png" alt="Github Repository Secrets">
Crab a coffee and enjoy it
Lastly, you have to create a pull request from a fhttps://www.philschmid.dehttps://www.philschmid.de/static/blog/set-up-a-ci-cd-pipeline-for-your-web-app-on-aws-s3-with-github-actions/github-action.pngation.

I created a demo repository with a vue app as example. You can find the repositoryhere. If something is unclear let me know and i willadjust it.
